Get Started
This site is protected by reCAPTCHA and the Google Privacy Policy and Terms of Service apply.
Call AMS Digital Monday to Thursday 8am – 5pm at: (613) 902-5191

Want to get your business out there but not confident with a camera? Here are ten tips you can utilize when taking pictures for your business.
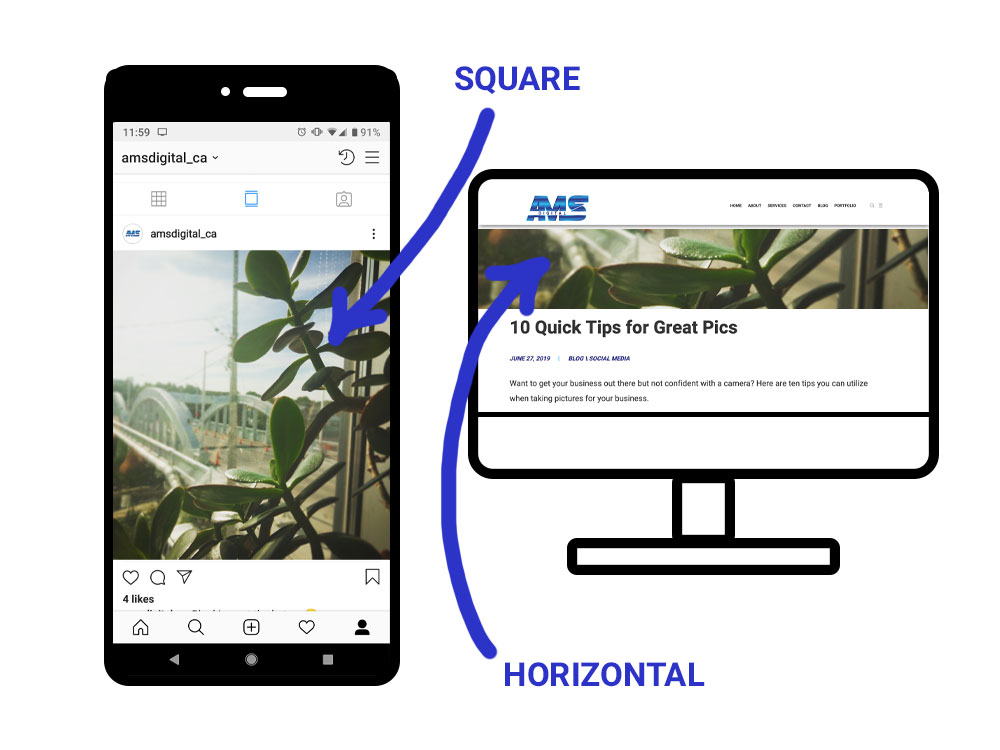
It’s important to consider the purpose of your photographs before getting started. Looking for a new photo for a banner on your website? Take the picture horizontally and ensure that the camera being used is able to produce high-quality images. Looking for a photo for social? Vertical, horizontal or square formats can be used in different ways for specific accounts. Instagram users are pleased with horizontal and square photos in feeds, but Instagram stories are formatted for vertical images.
Traditionally, taking this rule into consideration before snapping a picture will help create a more dynamic and pleasing photograph. To apply the rule of thirds, pretend that your screen has a grid of three vertical and three horizontal lines (some cameras and phones will actually supply you with a grid). Try to align the main features of your image with intersecting points on the grid to add interest.

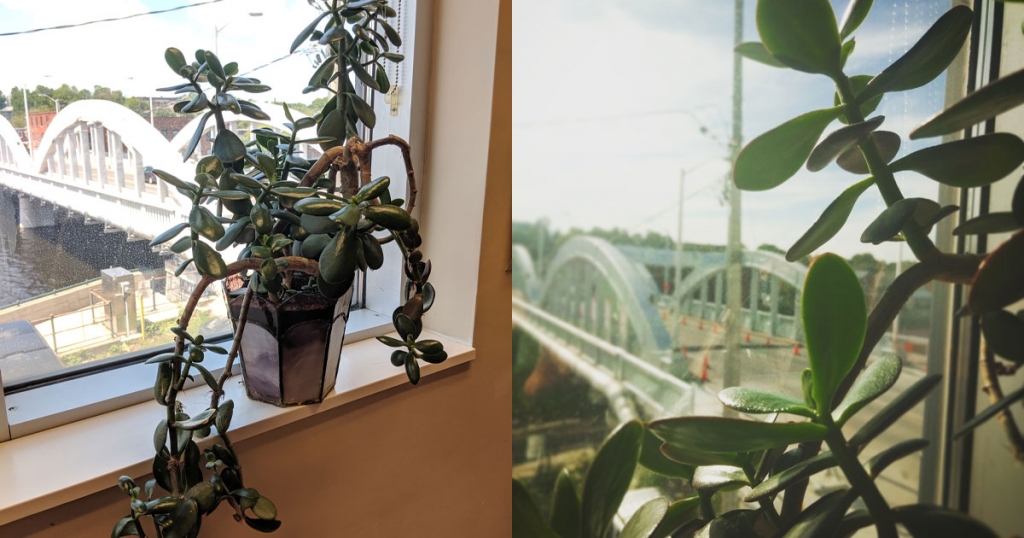
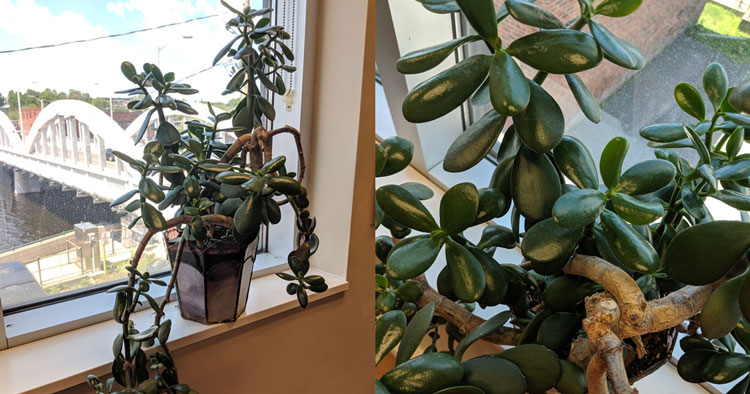
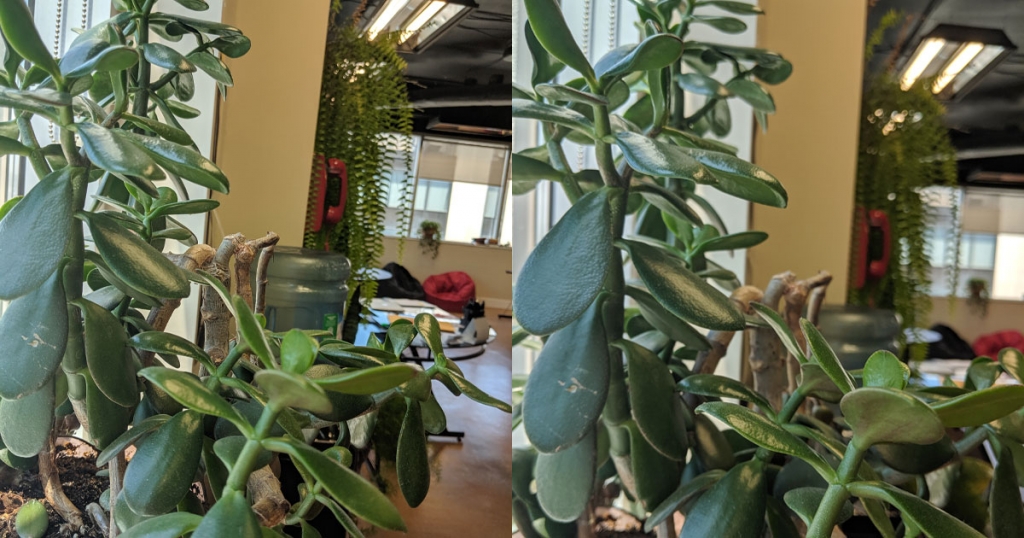
Experiment with taking pictures of the same object or person from far away and then up close. You will often surprise yourself with the results! A photo of a product might look great displayed with its surroundings, but its features could also be highlighted by a close-up photograph with a simple background. Sometimes you can find uses for images you deemed useless later on.
If able, it is always better to get closer to your subject than to use the physical or digital zoom on your camera. Zooming in, instead of simply walking forward, can affect lighting and image quality, and has the potential for more camera shake in your photos

There’s a reason that the go-to angle for a selfie is slightly above your head! Certain angles we just naturally find more flattering. When taking photographs of people, it can be helpful to get at, or slightly above, eye level. Taking a photograph of a toddler? Getting on their eye level for photos creates a connectedness. Want to show them as small and helpless? Take a photo from a high angle above them. This rule can also be applied with products and locations. Try different angles and experiment!
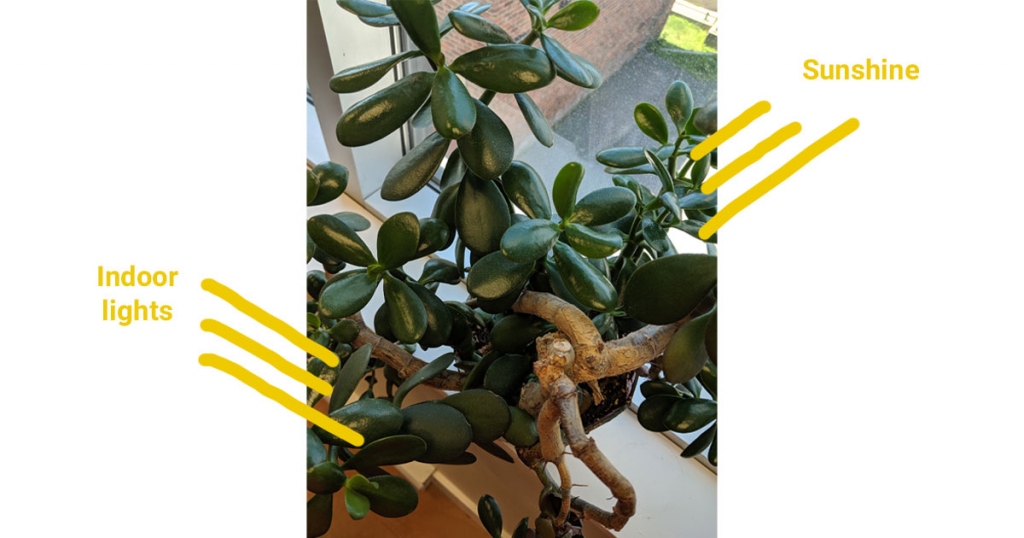
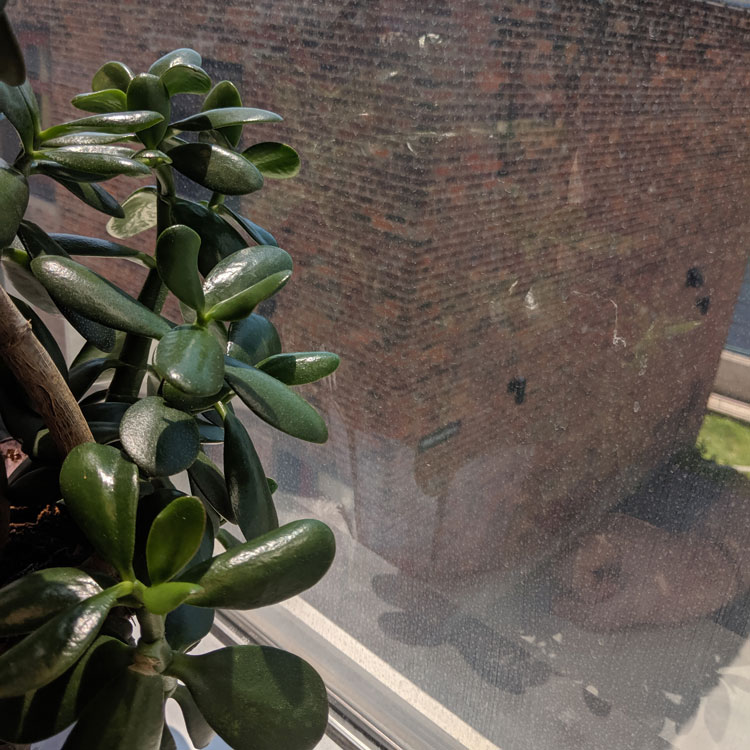
The sun is our number one source of light and is a free and convenient source of lighting for pictures. The sun can also work in conjunction with indoor lighting to allow for pleasing images. Consider shooting near a window for unique effects.
Finding a happy medium between a squinting subject and a black silhouette can be frustrating. If you’re shooting using the sun, mornings and evenings (when the sun is less harsh) can help a lot. “Golden hour”, the time just after sunrise and just before sunset, can create a warm glowing effect. “Blue hour”, the time just before sunrise and just after sunset, creates the opposite effect, making everything a slightly blue colour. Taking photos on cloudy days, or in the shade, also ensures that there aren’t harsh shadows. Most phones and cameras have settings based on the type of lighting you have, which you can change accordingly. This is called “white balance” and is generally indicated as WB on cameras.
One might be able to get away with a little camera shake, but too much can really render many photos unusable. You can decrease shake by using a tripod, stabilizing your arms with your elbows/ holding your camera close to your body, and adjusting your shutter speed. A shutter speed of around 1/125 should be suitable for most photographs. Higher speeds can freeze moving subjects, so you may have to experiment with your device to see what’s right. Shutter speed is generally indicated as S or TV on cameras.

Look around when taking pictures. Backgrounds can have a huge impact on the way your photos turn out. Messy or overly busy backgrounds may distract from your subject. A tree in the background can look like it’s coming out of a person’s head if you’re not careful.
Depth of field is also something to consider when taking photos. Do you want the background blurry or in focus? Many phones will allow you to click on the subject you want in focus and adjust accordingly. You can change the “aperture” on most cameras to adjust this as well. Large apertures will make the depth of field shallow, while smaller apertures will have a deeper depth of field. This is generally indicated as A or AV on cameras.
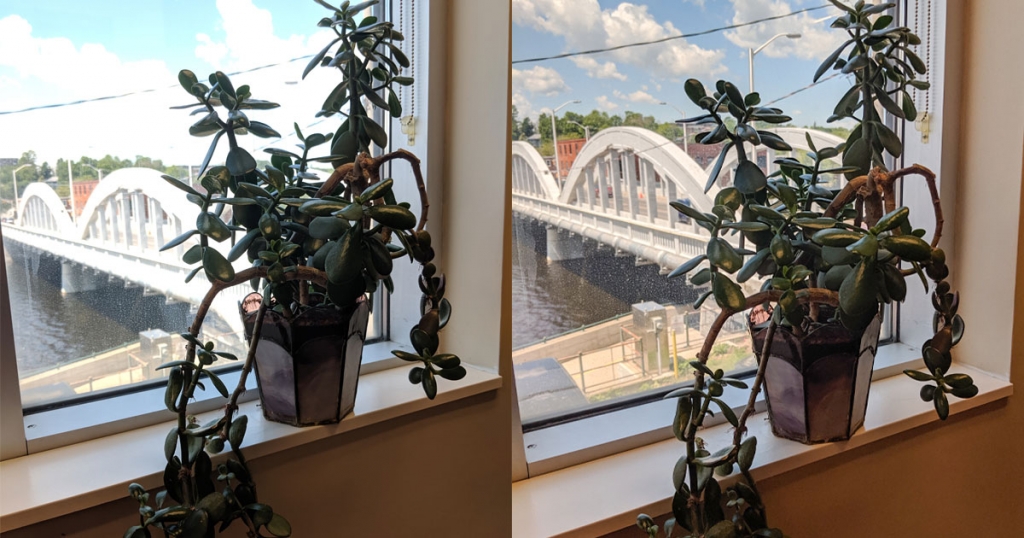
When taking pictures of shiny or reflective objects, pay attention to what is showing up unintentionally. Mirrors, for example, are notoriously hard to photograph and have resulted in some extremely funny images. Electronics, vehicles and glasses can all reflect the photographer or have extreme glares from the sun.
Even if you’re new to photography, taking these simple tips into consideration can have a drastic impact on the final product, and result in photos that you and your marketing company are pleased to present to the world.